
Drum Bleed: What to Keep Before You Reach for a Gate
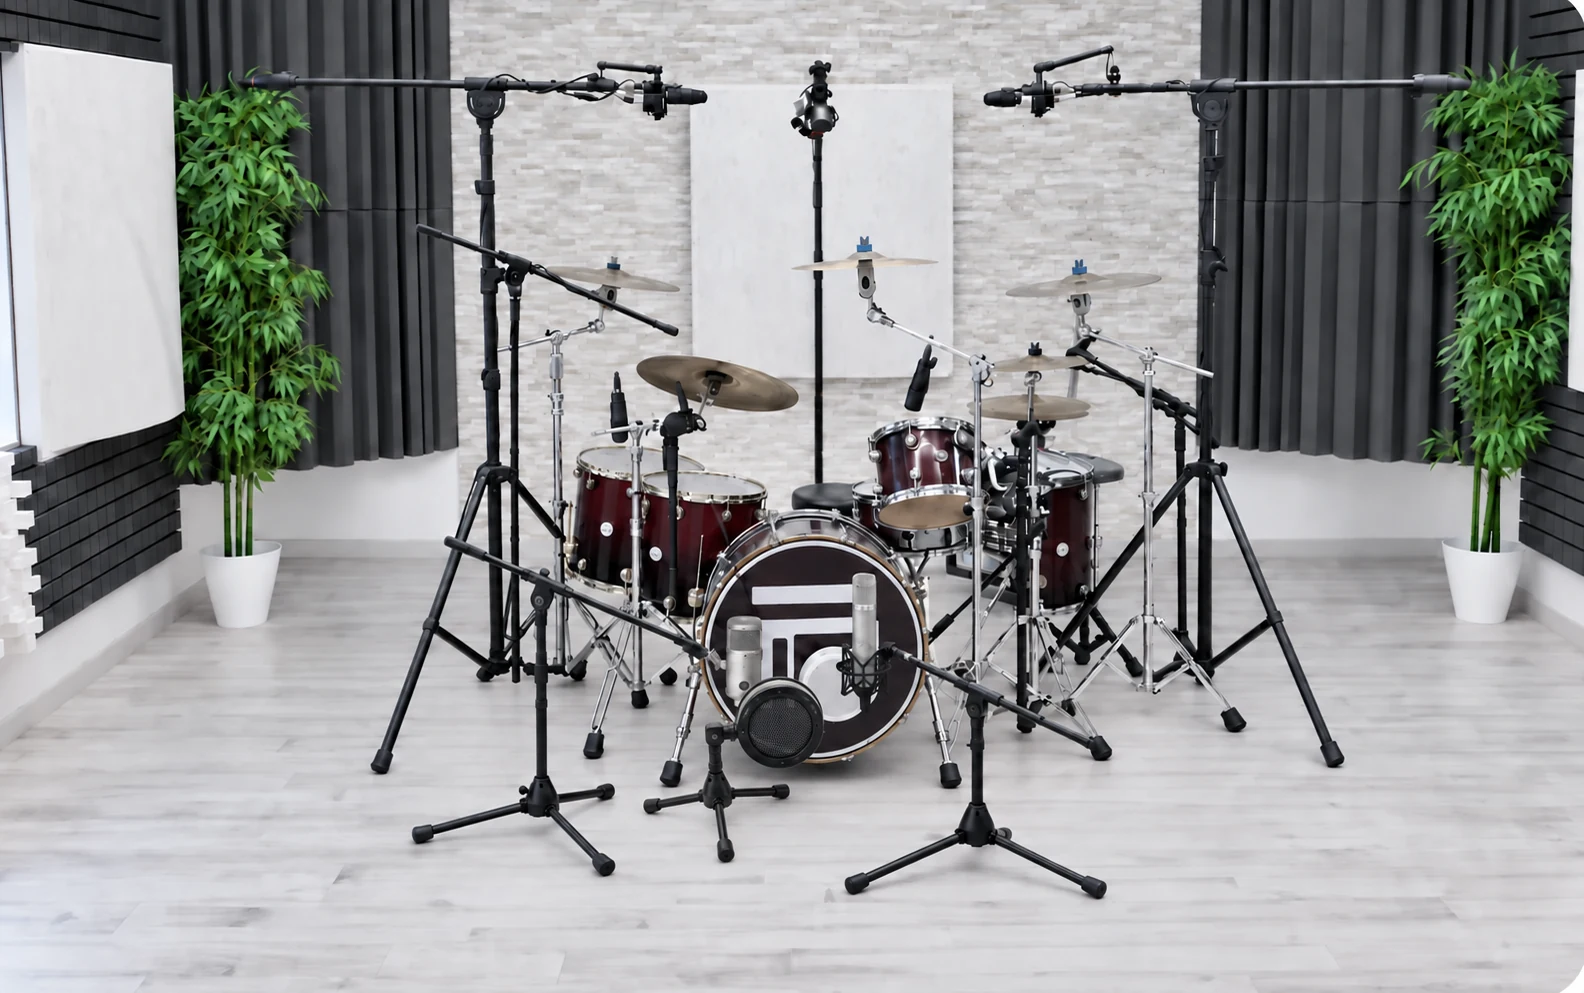
You solo a snare track and hear the hi-hat. You open a tom channel and hear the rest of the drum kit between fills. Before reaching for a noise gate, ask a more useful question: what is that sound doing in the song?
Drum bleed deserves a listening decision, not an automatic cleanup rule. This guide proposes a practical way to decide what to leave alone, what to reduce and what to check before keeping the processed version. The aim is to preserve the drum part while solving a specific mix problem.
What is drum bleed?
Bleed, also called spill or leakage, is sound from another source entering a microphone intended primarily for one instrument. A snare mic can pick up a nearby tom or cymbal. Directional pickup and microphone positioning can reduce that spill at the recording stage. Source: Shure: microphone placement and bleed.
Once you are mixing recorded tracks, start with what is actually present. Write down which sound concerns you and where you hear it. “The hi-hat distracts from the snare in the verse” is an actionable observation. “The snare track is not silent between hits” does not yet explain what needs to change.
Listen to the song before judging a soloed channel
Build a simple working balance with the tracks you have. Listen to a verse, a chorus, a fill and the ending. Then solo the channel briefly to identify the source of the sound that caught your attention. Return to the full arrangement before deciding whether to process it.
Use a concrete question for each pass: can you follow the backbeat, hear the softer snare strokes and recognise the intended accents? If you like the result in context, make a note and move on. You do not need to prove that every microphone sounds isolated on its own.
For a useful comparison, keep an untouched version available and change one thing at a time. Listen at a comparable playback level. Decide in advance what would count as an improvement, so that a quieter gap does not become the only criterion.
Know what a gate can and cannot do
A conventional gate attenuates a channel when its detector falls below a threshold; it opens for signals that trigger it. Shure demonstrates this approach on a kick track to reduce spill between hits. Source: Shure: practical drum gating.
A practical consequence is that a gate is not a separator for simultaneous instruments: when it opens, spill already present alongside the wanted hit can still pass. If your concern is the cymbal heard during a snare hit, judge that passage directly rather than expecting silent gaps to solve it.
Set the target before setting the threshold
With a gate or downward expander, threshold determines when processing opens; ratio controls expansion below that point, while range limits the maximum attenuation. These controls let you reduce quieter material without necessarily muting it. Source: FabFilter: threshold, ratio and range.
Start by choosing the passage you most want to protect. On snare, that may be a verse with ghost notes — the quiet strokes between stronger accents — rather than the loudest chorus. Compare those strokes with processing bypassed and enabled. If an intended note disappears, revise the setting or reconsider whether this channel needs gating.
Do not settle the decision after one repeated backbeat. Check a fill, a quieter section and a transition. A setting is useful only if it behaves acceptably across the passages where you intend to use it.
Protect the attack and the decay
Attack controls how quickly the gate opens; hold keeps it open for a minimum time; release controls its closing transition. Fast opening can preserve drum transients. Source: FabFilter: attack, hold and release.
Listen to the beginning and the end of each wanted hit. Has the initial impact changed? Does the tom still finish naturally? If the processed version sounds shortened, decide whether that is an intentional effect or a reason to back off. There is no need to choose a fixed timing value before hearing the performance.
Use the detector deliberately
If your processor offers side-chain filtering, it can narrow the frequencies used to trigger the gate. That filter changes the detector signal; it is not simply an EQ cut on the audible track. FabFilter’s Audition function lets you hear that detector signal. Source: FabFilter: side-chain filtering.
Treat this as a test, not a guarantee of isolation. Compare a wanted hit with an unwanted trigger, then return to the complete track. Recheck quiet strokes after changing detection. Consult the manual for your own processor, since available controls and their behaviour vary.
Give tom fills and cymbal tails their own check
For a tom channel, audition a passage before the fill, the fill itself and what follows. Listen through to the next musical event. Avoid making the decision from the first hit alone: the final tom stroke may matter just as much to the transition.
Keep cymbal tails in the comparison too. If a proposed cleanup makes the transition sound abrupt, compare a gentler setting and the untreated version. Choose the version that fits the arrangement. This is a suggested listening method, not a claim that one treatment is right for every drum recording.
Keep, reduce or investigate
Keep it: the spill is audible when soloed, but the drum balance works in the song and you cannot identify a musical benefit from removing it.
Reduce it: you can name a specific distraction, and a processing comparison improves that passage while preserving the notes and decay you want.
Investigate: the only setting that removes the distraction also loses part of the performance. Leave the original available, mark the passage and discuss it with the mixer instead of committing to the damage.
These are editorial decision prompts, not measurements or promises. For example, a hypothetical verse might lose its ghost notes under a chorus-oriented gate setting. That is a reason to revisit the decision, not evidence that the drummer played the verse incorrectly.
A final listening pass
Play the song from beginning to end. Check soft strokes, accents, fills, transitions and the ending without stopping to admire a soloed channel. Note any passage where processing draws attention to itself. Keep only the changes you can explain in musical terms.
For recording-stage context, see the Drum microphone placement guide. If you then want to work on dynamics, use the Drum compression guide as a separate topic.
Planning a new recording? Toni Mateos’s service delivers multitrack WAV files at the sample rate and bit depth required by your project. Discuss any particular processing or delivery requirements before ordering rather than assuming them. Explore remote custom drum tracks.